 how-to
How to Find Roof Leaks That Travel: 7-Step Guide
Table of Contents
- Why Roof Leaks That Travel Are Hard to Pinpoint
- Safety Gear and Ladder Protocols Before You Start
- Tools for Tracing a Hidden Roof Leak
- Step-by-Step: How to Find Roof Leaks That Travel
- Common Causes of Commercial Roof Leaks
- Commercial Roof Leak Detection vs Patch Repair
- What an Infrared Roof Moisture Survey Reveals
- Seasonal Leak Patterns and When to Call a Professional
- Frequently Asked Questions
Last Updated: October 2, 2026
Why Roof Leaks That Travel Are Hard to Pinpoint
Water almost never drips straight down from the hole it entered. Roof leaks that travel follow rafters, decking, and insulation before showing up on your ceiling. That gap between entry point and drip spot is why so many building owners chase the wrong repair for months.
How Water Migrates Through Roof Assemblies
Water migration is water moving along the path of least resistance inside a roof system. Gravity pulls it downhill, but roof pitch, decking seams, and insulation redirect it sideways.
Here is what happens in practice:
- Water enters at a flashing joint or vent boot
- It runs along the roof sheathing until it hits a rafter
- The rafter channels it sideways, sometimes for several feet
- It soaks into insulation and finally drips through the ceiling
Safety Gear and Ladder Protocols Before You Start
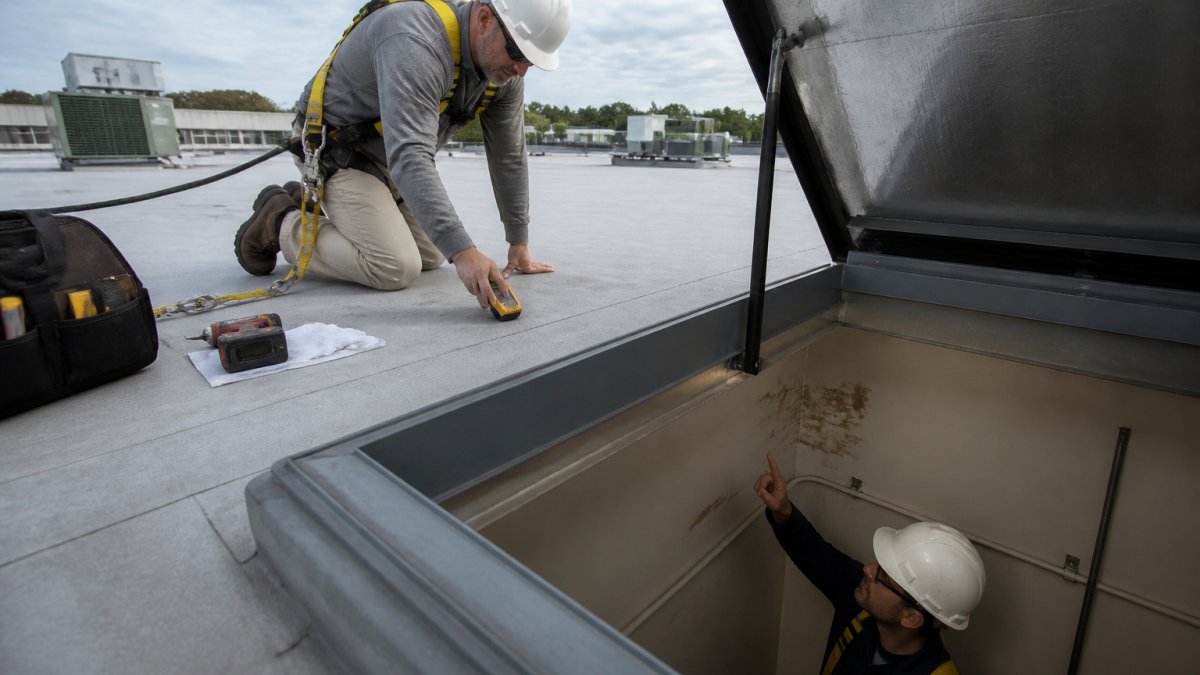
Safety comes before diagnosis. A roof inspection puts you on a wet, sloped surface with fall hazards, so gear and ladder setup matter more than speed.
Wear these every time:
- Hard hat and slip-resistant boots
- Fall protection harness on any roof above a safe height
- Cut-resistant gloves for handling flashing and metal edges
- Eye protection when working near debris
Tools for Tracing a Hidden Roof Leak
The right tools turn guesswork into a real diagnosis. A flashlight and garden hose get you started, but moisture meters and thermal cameras find what your eyes cannot, if you know how to read them.
- A bright flashlight for attic and ceiling inspection
- A moisture meter to measure water inside decking and insulation
- A garden hose for controlled water testing
- Chalk or painter's tape to mark water trails and drip lines
- A ladder tall enough to reach the roof edge safely
How to Read a Moisture Meter
A pin-type moisture meter drives two probes into the material and measures electrical resistance: wet material conducts more current, so lower resistance means more moisture. Pinless meters scan wider without leaving holes, useful on finished drywall, less precise on thick roof assemblies.
How to Read a Thermal Imaging Camera
Thermal cameras do not see water, they see surface temperature. Wet insulation and decking hold heat differently than dry material, so saturated areas show as cooler patches during evening cooldown and warmer patches during morning warm-up. The difference is often strongest right after sunset, when the roof surface is losing heat.
A few practical rules:
- Scan from inside the attic first, then from the roof surface, and compare the two views.
- Look for irregular, blotchy patterns rather than sharp geometric shapes, sharp shapes are often just framing or fasteners.
- Confirm every thermal anomaly with a moisture meter before you cut, drill, or repair.
- Note that reflective membranes, standing water, and direct sun can all create false readings.
Combining the Two Tools
The strongest sequence is thermal first, meter second. The camera tells you where to look across a wide area; the meter confirms whether the anomaly is actually wet. Together they trace water migration across a roof deck without opening the assembly, exactly what you need when the drip is far from the entry point.
Step-by-Step: How to Find Roof Leaks That Travel
Finding a traveling leak means working backward from the stain to the entry point. Follow these steps in order, and mark everything as you go.
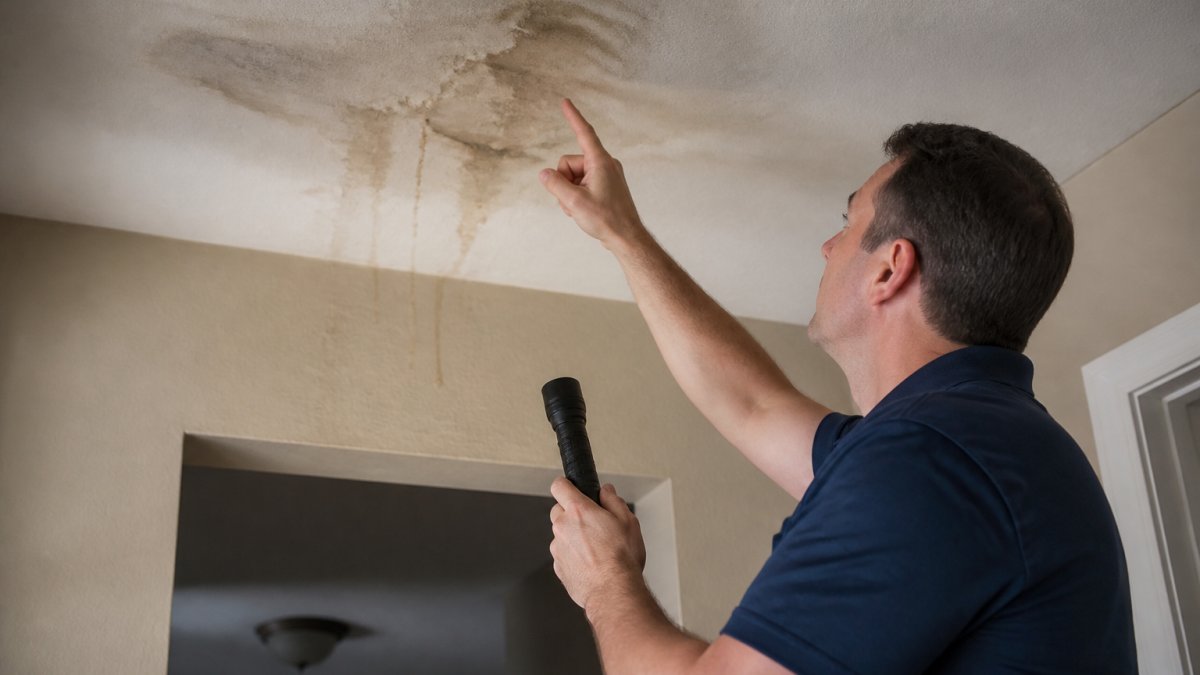
Step 1: Map the Interior Water Stains and Trails
Start inside. Ceiling stains and trails show where water exits, not where it entered. Photograph every stain and note its size and shape.
Look for:
- Brown or yellow rings on ceiling tiles
- Water trails running along beams or joists
- Bubbling paint or soft drywall
Step 2: Inspect the Attic for Drip Lines and Saturation
Bring a flashlight into the attic and work from the stain upward. Look for drip lines, dark streaks on rafters, and saturated insulation.
Check these areas closely:
- Roof sheathing and decking for soft spots
- Rafters and truss members for water trails
- Insulation for compression or dark, wet patches
- Ventilation paths for condensation buildup
Step 3: Check the Roof Exterior at Likely Entry Points
Now inspect the roof exterior at the points your attic inspection flagged, focusing on penetrations and seams, the most common entry points.
Check:
- Flashing around chimneys and walls
- Vent boots and pipe penetrations
- Valley leaks where two roof planes meet
- Shingle damage, cracks, and lifted edges
- Gutter blockage that backs water up under the edge
Common Causes of Commercial Roof Leaks
Most commercial roof leaks trace back to a short list of failures. Knowing these helps you inspect faster and spot problems before they spread.
The most common causes of commercial roof leaks include:
- Failed flashing at walls, curbs, and penetrations
- Cracked or separated membrane seams
- Ponding water from poor drainage or roof pitch
- Clogged drains and gutters
- Punched-in roofing nails and fastener backout
- Aged sealant that has dried and pulled away
Commercial Roof Leak Detection vs Patch Repair
Patch repair fixes the symptom; leak detection finds the cause. The difference shows in how long the fix lasts.
| Approach | What It Does | Best For | Risk |
|---|---|---|---|
| Patch repair | Seals the visible drip area | Small, confirmed single-point leaks | Recurring leaks if source is missed |
| Leak detection | Traces water to its entry point | Traveling or hidden leaks | Needs proper tools and time |
| Infrared survey | Maps saturation across the roof | Multi-leak or aging roofs | Requires trained interpretation |
What an Infrared Roof Moisture Survey Reveals
An infrared roof moisture survey shows where water has soaked into the roof system even when the surface looks fine. The camera reads surface temperature, and wet insulation shows as cooler or warmer zones.
What a survey reveals:
- Saturated insulation that has not yet reached the ceiling
- Water migration paths across the roof deck
- The true extent of a leak, not just one drip spot
- Areas at risk of mold growth and structural wear
Seasonal Leak Patterns and When to Call a Professional
Leaks follow the seasons, and the season tells you which mechanism is driving the water, which matters because each mechanism sends water down a different path.
Spring: Snowmelt and Saturated Flashing
As snowpack melts, water volume on the roof peaks. Meltwater finds failed flashing at chimneys, curbs, and wall intersections, then runs along the deck until it hits a rafter. Because melt is slow and steady, the drip inside often appears hours, sometimes a full day, after entry.
Summer: Thermal Expansion and Wind-Driven Rain
Roof membranes expand in heat and contract at night, working sealant loose at seams and penetrations. When a summer storm drives rain sideways, water enters gaps that would never leak in straight-down rain. Wind-driven leaks are notorious travelers: the entry point can be on the windward side while the drip shows up on the opposite side of the building.
Fall: Debris, Backup, and Ponding
Falling leaves clog drains, scuppers, and gutters. Water backs up under the roof edge and wicks inward along the deck, and on low-slope roofs blocked drainage creates ponding that works into seams over days or weeks. Fall leaks often appear as a slow ceiling stain that worsens after every rain.
Winter: Ice Dams and Freeze-Thaw
Ice dams form when snow on the upper roof melts, runs to the cold eave, and refreezes. The dam traps meltwater, which backs up under shingles or membrane and travels along the deck. Freeze-thaw cycles also open small gaps in sealant and flashing that close in warm weather, why some leaks seem to disappear and return.
Condensation Is Not a Seasonal Leak
A leak that shows up only in cold weather, with no rain or snowmelt, is often condensation: warm, moist interior air hits a cold roof deck and condenses. The fix is ventilation and insulation, not roofing. If moisture appears on the underside of the deck with no trail to a penetration, treat it as condensation first.
When to Call a Professional
Call a professional when:
- You cannot find the entry point after a full inspection with a moisture meter and thermal camera
- Water shows up in multiple spots, suggesting widespread saturation rather than one breach
- The roof has ponding water, failed drainage, or visible membrane separation
- You see mold growth, sagging decking, or soft spots underfoot
- The leak returns after a repair, which means the original diagnosis missed the source
- The roof is steep, tall, or has fragile surfacing that makes walking it unsafe
Structural integrity and insulation saturation are not DIY problems. A trained crew can trace the leak, document damage with thermal and meter data, and plan a repair that holds through the next season.
Frequently Asked Questions
Why does water travel so far from the actual roof leak?
Water follows the path of least resistance across roof sheathing, rafters, and underlayment before it finds a gap to drip through. On low-slope commercial roofs, gravity and roof pitch pull moisture along insulation seams and metal decking flutes, so a small entry point at a vent boot can surface 20 feet away at a ceiling tile. That is why tracing roof leaks that travel requires following the water trail rather than the stain itself.
How can infrared thermography help detect hidden roof moisture?
An infrared roof moisture survey uses a thermal camera to spot temperature differences caused by saturated insulation, which cools differently than dry material. On a commercial roof, wet areas show up as darker patches during evening scans when the roof is releasing heat. This lets a technician map the full extent of water migration before anyone cuts into the membrane, so repairs target the actual source instead of a symptom.
What are the most common entry points for commercial roof leaks?
Flashing failures around chimneys, vent boots, and HVAC curbs cause most commercial roof leaks. Other frequent culprits include open seams, punctures from foot traffic, deteriorated pipe boots, clogged drains that back water under the membrane, and cracked roof cement at terminations. On older roofs, shingle damage and failed underlayment allow water to seep into the roof decking, then travel along rafters or truss chords before showing up inside.
When should you call a professional for a persistent roof leak?
Call a professional if water returns after you have patched obvious damage, if the leak appears in multiple locations, or if you cannot safely access the roof. A commercial roof leak detection specialist uses moisture meters, infrared scanning, and water tests to find the true entry point. GM Systems Commercial Roofing offers a free roof analysis for those who need a data-backed answer instead of another temporary patch.
A traveling roof leak will keep costing you money until someone traces it to the source. GM Systems Commercial Roofing provides detailed roof analysis, targeted leak repair, and reflective roof restoration to stop water damage and extend the life of your building's roof. Get a Free Roof Analysis and find out exactly where your leak starts.